We have been fascinated with the act of bringing flowing water to the
insides of our homes since indoor plumbing first became available. Water is
essential to life as we know it, and many of us have really taken it for
granted. We take long showers, and pour water down the drain when we feel
that its sat for too long. There are still places in the world that long for
access to water like we have, and a beautiful sink can help us to appreciate
it.
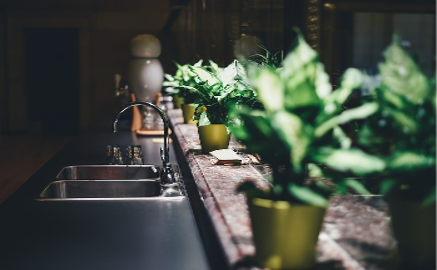
The double basin sink refers to a double sink with two side by side basins that are serviced by one faucet, generally on a hinge. The faucet swivels between the two, and it can offer several advantages in a kitchen environment. One side can be used to prep food, while the other side can be used for washing and sanitation. This creates a dual purpose for the sink that offers a level of versatility that is very important to every kitchen.
Most restaurants use dual basin sinks to wash and rinse their dishes. This helps them to achieve the necessary level of sanitation that is often required by their state health boards. The installation of double basin sinks isn’t as complicated as it sounds. Consider some of the steps listed below:
Size Matters
The size of the sink basins will determine the scope of their uses. First and foremost, you need to measure your kitchen, and decide exactly what kind of sink you can handle. A double basin sink often takes up more space, and can limit what will fit into the basins. There are times when a single basin sink will make more sense that trying to use two basins. This is especially true when there’s not much space, and the double basin sink would have to include two small basins. This makes washing large dishes or prepping large produce impossible and impractical.
If you’re planning a large or professional kitchen, then a double basin setup is definitely your best option. Once the area is measured, you can decide the type of sink you’re going to use. Next, you’ll need to purchase the ink and the necessary materials. A professional installation team can help with this as well.
Remove the Old Sink
You will need to remove your old sink. This involves turning off the water lines and turning on the faucet to release pressure. You will need to detach the pipes underneath, and make sure that you disable the garbage disposal if one is there. Next, you will need to cut along the caulking, and push up gently on the bottom of the old sink. If you’ve done everything correctly- it should just pop out. Remove this, and set it to the side. Now, measure the opening, and use a jigsaw to widen the area as needed.
Place the New Sink
Now that the opening is sized for the new sink, you can gently place the double basin setup into the new opening. It should slide right in and sit evenly with the countertop. You may need some professional direction to re-plumb anything that may need to extended or repositioned in order to accommodate the new design. Once all of this is hooked up, you will need to test the plumbing prior to caulking the sink. It’s important to do this before doing anything permanent so that you know that everything is correct prior to doing something that can’t be undone. If the plumbing works and the sink is positioned correctly, then you can finish the caulking along the line of the actual sink. From here, you should only need to clean up- and start your next project!


